Routing in Angular
Add routing to your angular project
Introduction
In Angular, the best practice is to load and configure the router in a separate, top-level module that is dedicated to routing and imported by the root AppModule.
By convention, the module class name is AppRoutingModule and it belongs in the app-routing.module.ts in the src/app folder.
Generate AppRoutingModule:
ng generate module app-routing --flat --module=app--flat puts the file in src/app instead of its own folder.
--module=app tells the CLI to register it in the imports array of the AppModule.
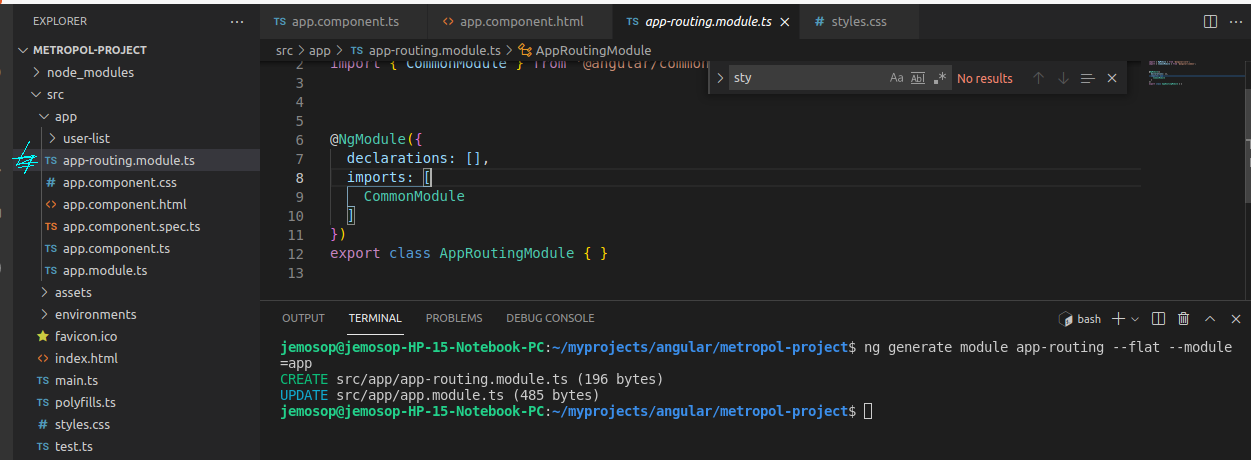
The default contents of app-routing.module.ts
import { NgModule } from '@angular/core';import { CommonModule } from '@angular/common';@NgModule({declarations: [],imports: [
  CommonModule
 ]
})export class AppRoutingModule { }
To add a route to our app-routing.module.ts change the contents as below
UserListComponent is a component i had created, to learn more about components. Here is a command to create a component
ng generate component user-listThe RouterModule and Routes imported to the app-routing.module.ts adds the routing functionality to the application.
Routes
Routes tell the Router which view to display when a user clicks a link or pastes a URL into the browser address bar.
Properties of a route:
path: a string that matches the URL in the browser address bar.
component: the component that the router should create when navigating to this route.
The @NgModule metadata initializes the router and starts to listen to the browser changes.
imports: [ RouterModule.forRoot(routes) ],The above line adds the RouterModule to the AppRoutingModule imports array and configures it with the routes in one step by calling RouterModule.forRoot().
The method is called forRoot() because you configure the router at the application's root level.
Add RouterOutlet
Edit your app.componet.html
<h1>{{title}}</h1>
<router-outlet></router-outlet>
Run your application
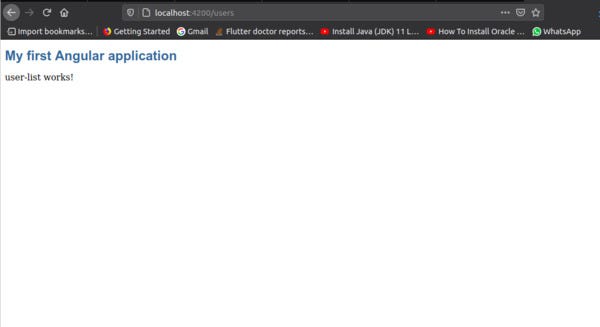
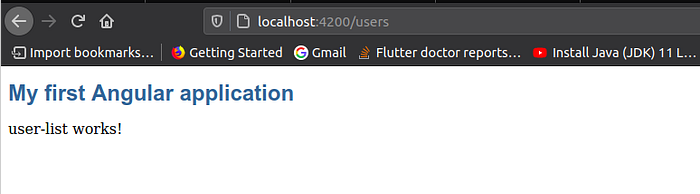
ng serveThis will load the default http://localhost:4200. To access the route we just created, type the route in your browser e.g in my case
This should work and display the contents of the new componet.html. If the page is empty add a header with some text e.g
<p>user-list works!</p>The new route should display the text above.
The <router-outlet> tells the router where to display routed views.
Add a navigation link
This enables users to click a link and navigate to another page
<h1>{{title}}</h1>
<nav>
  <a routerLink="/user">Users</a>
</nav>
<router-outlet></router-outlet>
The routerLink is the selector for the RouterLink directive that turns user clicks into router navigations. The browser refreshes and displays the application title and heroes link, but not display the user list.

after clicking
Add navigation with parameter
Get a specific user details by passing their parameter Id to the route.
Edit the app-routing.module.ts
import { NgModule } from '@angular/core';
import { UserListComponent } from './user-list/user-list.component';
import { UserDetailsComponent } from './user-details/user-details.component';
import { RouterModule, Routes } from '@angular/router';const routes: Routes = [
  { path: '', pathMatch: 'full', redirectTo: 'users' },
  { path: 'users', component: UserListComponent },
  { path: 'user/:id', component: UserDetailsComponent },
];@NgModule({
 declarations: [],
 imports: [
   RouterModule.forRoot(routes)
 ],
 exports: [RouterModule]
})
export class AppRoutingModule { }
Create a navigation bar with angular material
install material design
npm install --save @angular/materialupdate app.component.html with the navigation bar.
<h1>{{title}}</h1>
<nav>
  <a routerLink="/user">Users</a>
  <a routerLink="user/1">User Details</a>
</nav>
<router-outlet></router-outlet>
To design a toolbar with your routes
<br />
<div>
<mat-toolbar color="primary">
<mat-toolbar-row>
<span class="example-fill-remaining-space ">Routing tutorial</span>
<a mat-button routerLink="users">UserList</a>
<a mat-button routerLink="user/1">UserDetails</a>
</mat-toolbar-row>
</mat-toolbar>
<router-outlet></router-outlet>Style the navigation bar with bootstrap
ng add @ng-bootstrap/ng-bootstrapstyle the toolbar
/* creates a  space btw main header and navigation */
.example-fill-remaining-space {
  flex: 1 1 auto;
}a:hover, a:active{
  color: lightgray;
}a {
  text-decoration: none;
  color: white;
}.mat-toolbar.mat-primary {
  background: #007bff;
  color: #fff;
  height: 40px;
  padding-top: 5px;
}

when you click the user’s detail with id, it will pass the id to the Url

To have more understanding of how this works here is a tutorial on rest API with it’s application
You can create more components and add it to the router and design a navigation bar for your application.
Happy coding!!!!!!!!!!!!!!!!!!!!!!!!!!!!!!!
source: Angular documentation